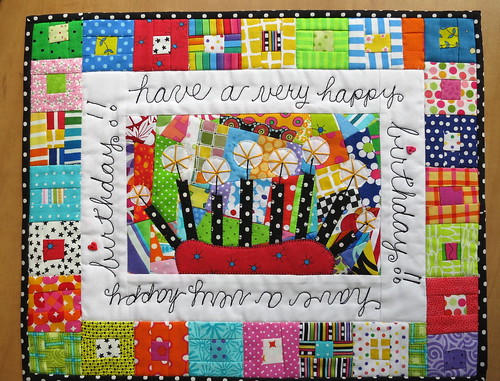
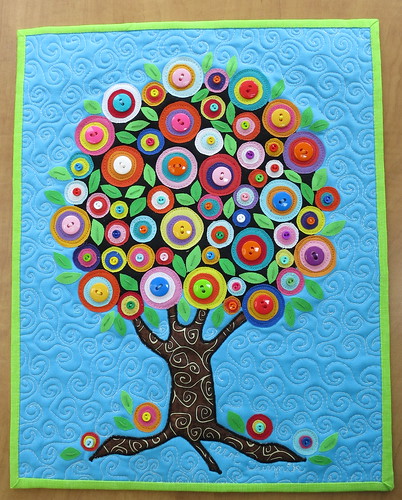
Showing posts sorted by relevance for query crayon. Sort by date Show all posts

Wednesday, September 12, 2012

The Crayon Method

I think more than anything else, people ask me how I do my crayon method of quilting.  I thought I had explained it many times, but perhaps once more is needed for understanding.  I have done several of these quilts.  Some have had borders and some not.  Some even had trapunto.  Lately, I have been just making up a design on paper and doing rather simple things.  I think the addition of buttons add a lot and maybe the quilts look fancier because of them, who knows?  So, I will try to explain the method again.  Unfortunately, I don't have pictures to go along with all the directions.

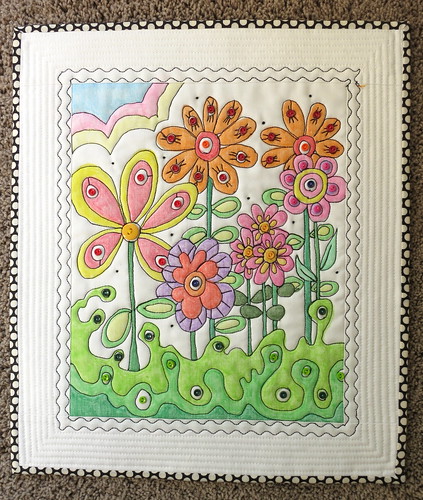
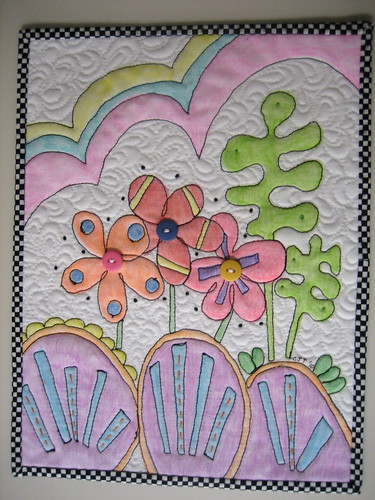
First, take a plain white sheet of paper and make a design that is pleasing to you.  Make sure that you have used most of the paper because any areas left unsewn later, might gap.  Do your drawing to scale.  (In other words, make the drawing as big as you want your crayon quilt top to be excluding any borders you might want to add later.)  This is mine.  I called this one, "Bloomin'"
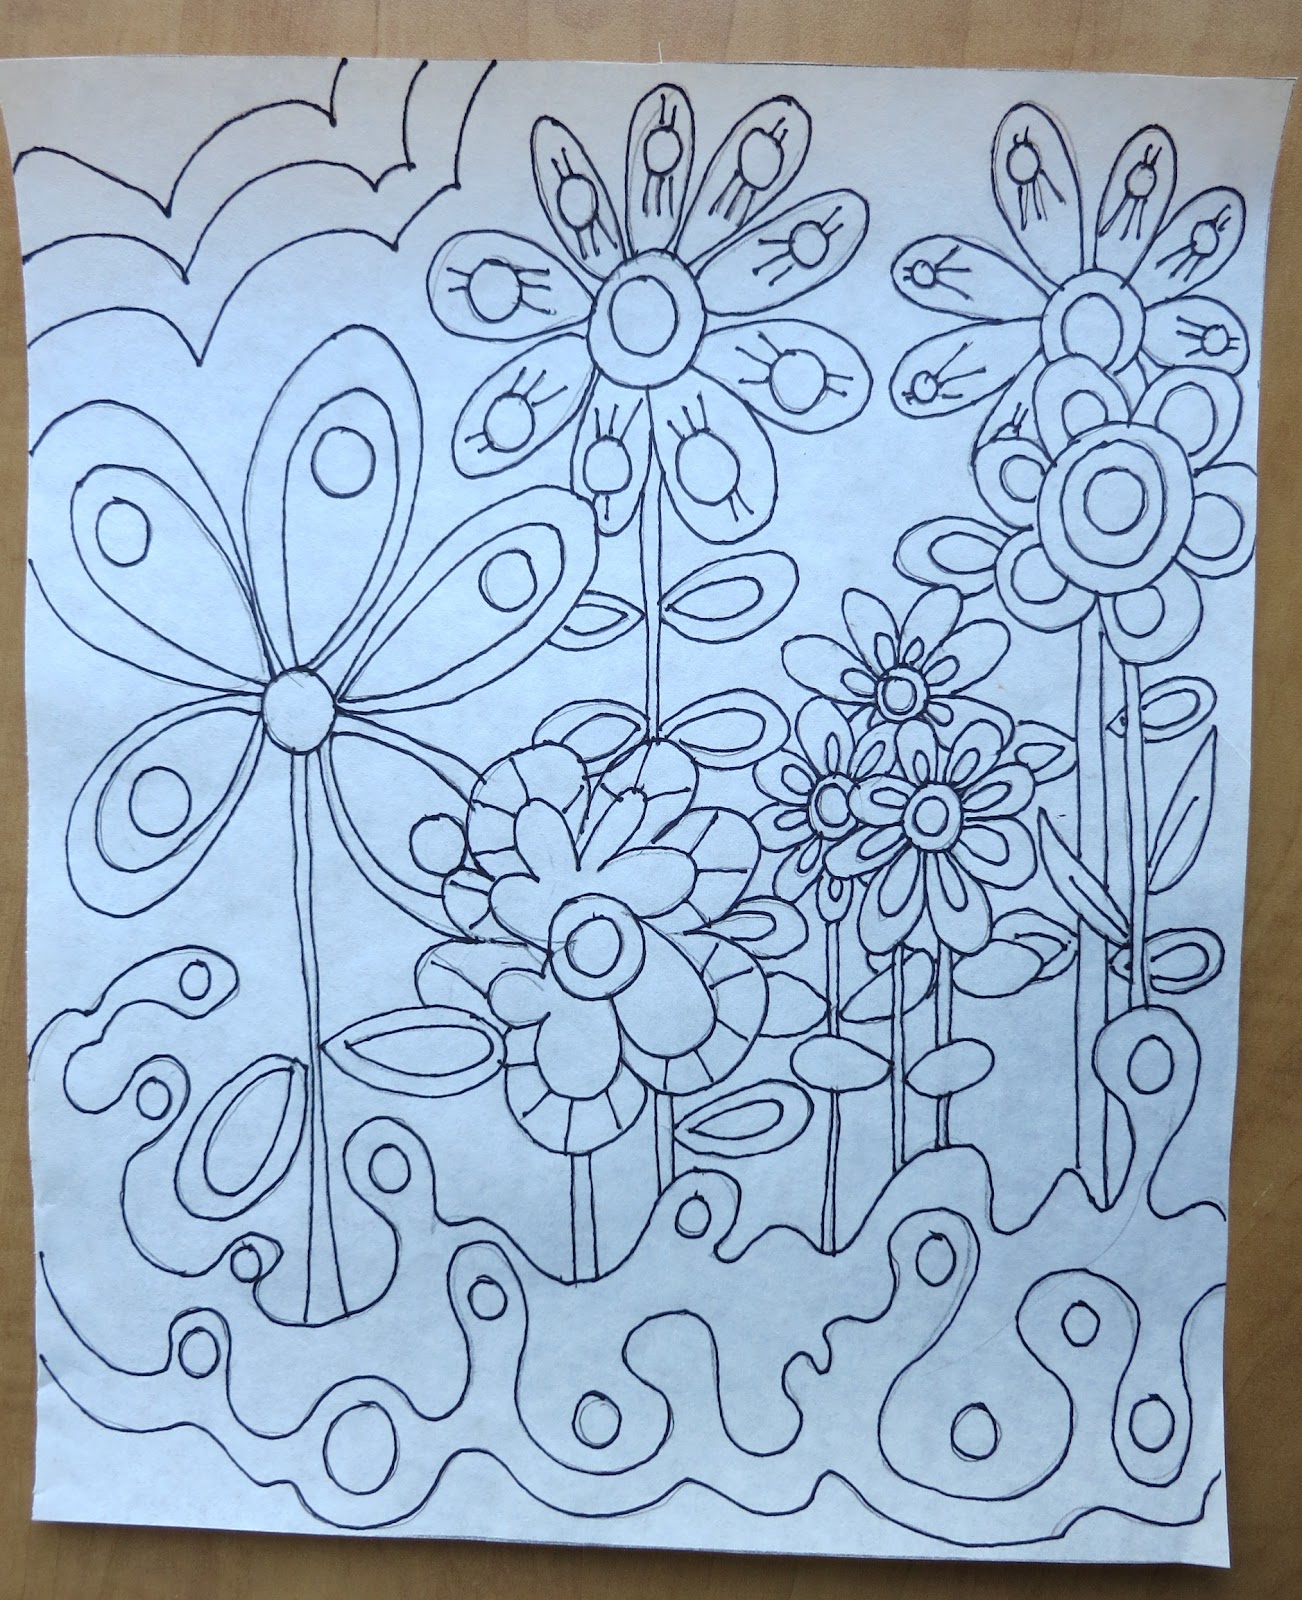

Note that I left several areas with circles.  I do circles to represent where I will place my buttons later although sometimes I do color those spaces too.  When you are satisfied with your drawing, go over it with a black sharpie pen.  This is so you will see the design through your white fabric.

Now, iron and cut a piece of white fabric 1/2 inch bigger than your drawing.  (Lengthwise and widthwise).  This is in case things are not exactly even when you are done quilting it.  When you are done, take your fabric and lay it over the darkened drawing, making sure the drawing is centered.  Now, trace your design onto your fabric lightly with pencil.  When you are done, take a piece of freezer paper the size of your fabric and iron the shiny side of the paper to the backside of your traced design.  This is to give the fabric the stability to color on it without the fabric wrinkling.  Using your Crayola crayons (at least that's the brand I use), color the fabric staying in your penciled lines.  When you are satisfied, remove the freezer paper, and take the colored piece to your ironing board.  Cover it with a cheap piece of muslin and without going back and forth, iron the piece section by section until you smell wax.  This is making the crayon a permanent part of the fabric.


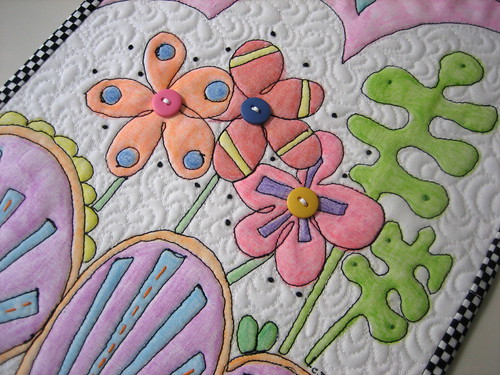
If you want to add borders, now is the time to trim the front and add them because the next step is to make a quilt sandwich.  I use a free motion (or darning) foot and use #30 weight black thread to outline my drawing once I have everything together.  (I use 505 spray adhesive, so no need to worry about pins.)  And when I'm done, and have added my buttons, it looks like this:

"Bloomin"

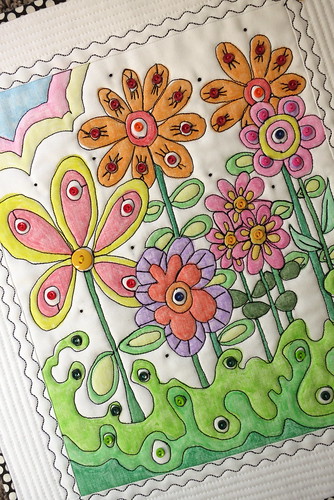
A close-up of "Bloomin"

This is one of two with flowers that I did recently.  The other one I sold to the craft coordinator for Blumenthal Lansing Co. (The biggest button distributor in the world).  It will be on display in their booth at the quilt show in February so look for it there.  The one above was done for a swap.  It's already sent, but the recipient hasn't gotten it yet.  Won't she be surprised?

I made one more for that swap.  It's not my usual style to be sure, but I thought I might be able to fool the group into thinking it was someone else'.  I was wrong!  I called this one, "Touch of Asia."

"Touch of Asia"

Check out that 1/8 inch straight line quilting.  I thought I'd never get done!!  Good thing I have a big stash of white thread, huh?  So, that's the scoop for today!  Not much else new here!  Until next time.....

Saturday, November 17, 2012

Sewing & Baking

Well, no time like the present to start the holiday baking, I say, and thanks to all your nice comments, and interest in my cookies, I'm going to devote at least one or two posts to just those starting next week.  First, though, I want to show you the last two mug rugs I made......(and if I have time, I still have ideas for about 3 more, but who knows if the swap will be over by the time I have time to get out the machine again???  It's only been two days, and I already miss sewing.)

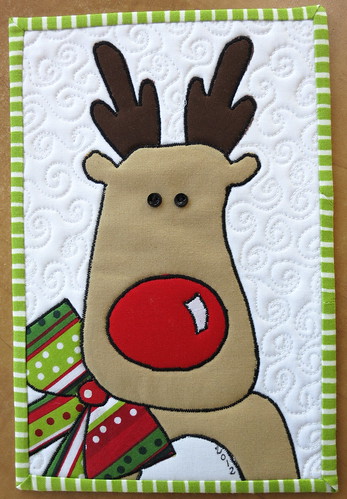
First, let me introduce, "Rudy":

"Rudy"

"Rudy" ended up at 6 x 9 inches and was super simple to make.  I have come to realize that the simple mug rugs are the most admired, probably because they're the easiest to copy.  lol  (Which, incidentally,  doesn't bother me a bit, I might add!!)  I'm here for inspiration.....

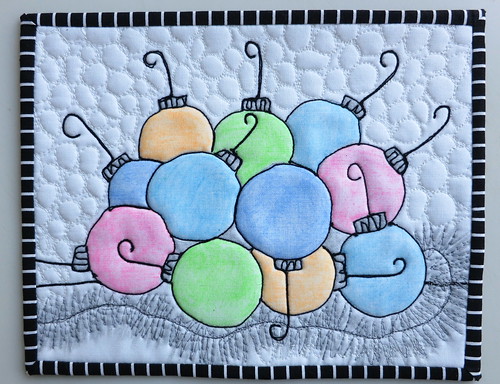
Then, since I hadn't done a crayon method quilt in awhile, I thought that might be fun for one.  Who knows what will happen after it gets laundered though.

"Let's Decorate"

I called that one, "Let's Decorate".  It's 8 1/2 by 6 1/2" and was done with my usual crayon method which I've described many times.  Personally, I'm not crazy about that one......probably because I like brighter colors for Christmas.

THEN..............ta-da..............I made 1 of three pies I will be bringing to my sister's for Thanksgiving.  I love making this one since it can be made ahead of time and frozen.  (Just call me, Mrs. Smith!)  And tell me, who doesn't just love a good pecan pie?


There are a million recipes for pecan pie on the web, and I think mine is either from there or a combination of a few different ones, but the thing that I LOVE is my pie crust recipe.  It's super simple and has never failed me:

NO FUSS HOMEMADE PASTRY

Mix 1/2 cup shortening
1 1/4 cups flour
1/2 teaspoon salt with a pastry cutter until blended

Slowly pour in 3-4 Tablespoons ice cold water, stirring until mixture comes together.

Shape dough into a ball, press into a disk shape, wrap in plastic and refrigerate 30 minutes.

On floured surface, roll chilled dough into circle to fit your pie plate.  Flute edges.

For pies needing prepared crust, bake 450 degrees 10-12 minutes.  For all other, bake as recipe suggests.

Happy baking!  And I'll be back next week with a bunch of cookie pictures and recipes (since I'm not sewing..........phooey!)

Monday, November 8, 2010

Still at It

Just so you don't think that I sit around here all day and do nothing, I want to show you what I did this morning BEFORE I cleaned the house.......
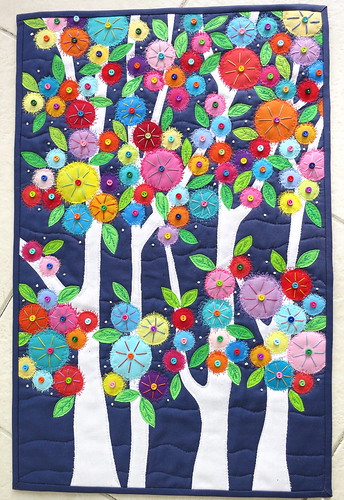
3 Christmas Cupcakes

I actually drew it yesterday and couldn't wait to put it together. I knew the "sprinkles" would be the crowning glory!! He-he! When my kids were little, they wouldn't touch ice cream or donuts that didn't have sprinkles on top. And my daughter always insisted on a cherry too! This little mug rug would be right up her alley. (I won't show her though........she already stole Goosey Lucy last night......so how many mug rugs does she need anyhow?)

My favorite is this one though:

A Peacock in a Pear Tree

Ever since the doll swap, I've been itching to do another crayon quilt. Actually, I didn't originally plan on doing this one that way, but after I looked at the amount of feathers, and wondered how I'd keep them all straight with applique, I decided that crayons would be my best bet. I love how he turned out and I am staring at him hanging in my kitchen right now. I named it, "A peacock in a pear tree" for obvious reasons. Just wait for the rest of the 12 days of Christmas. You can only imagine what 4 calling birds might look like, can't you???? How fun! I have all sorts of whimsical stuff swimming in my head. (Incidentally, if you want a brush up course on how to do the crayon procedure, here is a link to my tutorial: http://mamacjt.blogspot.com/2010/08/flowers-by-mail.html) The only thing I did differently this time, is I used a #30 weight black thread rather than the #12 pearl cotton. The #12 perle would have been too thick for that many lines and I would have had a million ends to bury.

I also can show you a beauty of a placemat that I received from suejoy today. She was my swap partner for that swap. I just love it.

My placemat from suejoy

So that's it until next time. Who knows what will be next? With me, you just never know!!! I sure hope you have fun seeing all my stuff as much as I LOVE making it. Come back....please?? It's so much more fun to share.


Friday, December 17, 2010

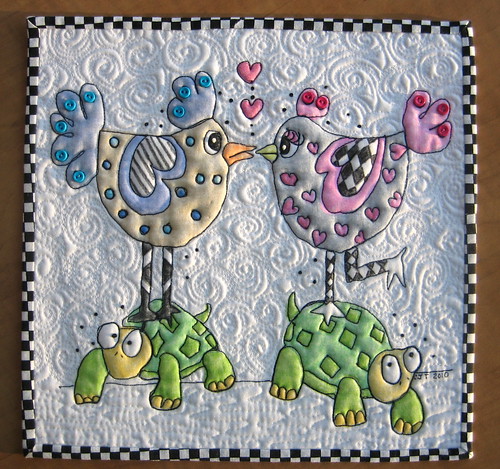
Two Turtle Doves


You knew I wouldn't let you down, didn't you?  How could I possibly forget about the 2 Turtle Doves?  After all, they were almost in the middle of the pack.  I must admit though that you will have to wait until next year for the additional 7 days of Christmas.  I'm sorry!  No way do I have time anymore this year to finish the set....BUT, you'll be happy to know that some of the remaining images are in my brain, and it's only a matter of time until I transfer them to paper.

Without further ado may I present 2 Turtle Doves:


And, naturally, I always show them to you in process.  Again, I used the crayon and trapunto method of quilting since the four others were done with the same method.  (Besides, it goes faster...LOL)
 

Don't tell anybody, but I had to do a search on turtles because I was clueless on how to draw them....duh!  I guess birds are much easier for me...........

And the finished quilt.  (Not very big at only 11 by 11 inches.....but cute, I think, none the less!)

Two Turtle Doves

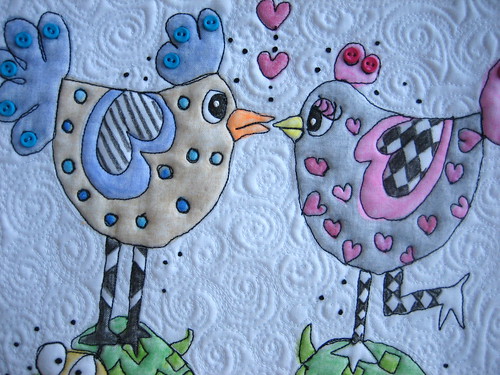
You need to see how in love these two are:

"Love"

That poor boy dove doesn't know what "hit " him!  LOL  Until next year....I hope you enjoyed the Peacock in the Pear Tree, Two Turtle Doves, 3 French Hens, 4 Calling Birds (my personal favorite so far) and 5 Golden Rings.  Just wait until you see what I have planned for 6 Geese A'Layin"!!

Saturday, September 4, 2010

Where should I start?

I have so much to say today....(actually, my friends would tell you that I have a lot to say everyday, but we won't go there. LOL Sometime I might tell you why I almost got kicked out of my LQS this week because I was so "lippy".) Anyway, I'm happy to report that I got my doll quilt from my partner the other day. Surprisingly enough, I had her name and she had mine. Who would guess? (Easy job for the swap mama though, don't you think???) She also sent me tons of goodies and I felt like it was Christmas here. If you recall, I sent her this and she sent me this beauty:

DQS9 Received from GoingSewCrazy

So that one is finally winding down after almost 3 months and I'm glad. I'm kind of "doll quilted out". Before I stopped though, I was asked to make an angel quilt for a wonderful quilter for a group where I'm a member but had never participated. At first I was a bit miffed, but I really wanted to make another crayon quilt anyway after that one time and since the theme was landscapes and the requester asked me to make something whimsical, I thought it might be fun to combine the two so this is what I came up with:

"Somewhere under the Rainbow"

Close-up

I called it, "Somewhere Under the Rainbow"......she is a Wizard of Oz nut so it was a bit of play on words. (I'm so clever, don't cha know?)

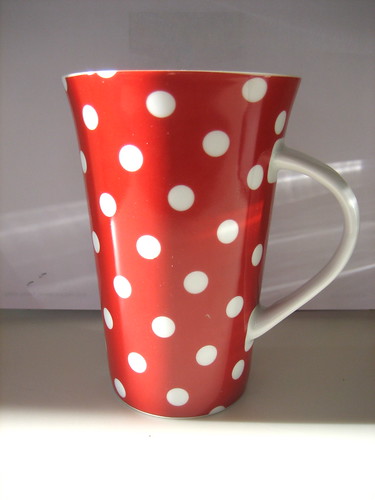
Anyhow, that's not all. I'm in that new goofy mug rug swap you know and I thought I really should get myself a mug so if someone wants to make me something matchy-matchy (which I really like, as you all know), they could. I love it:

My New Mug

Now, if I EVER do decide to get off the Diet Pepsi bandwagon and drink something more age appropriate, I'll have a pretty mug that goes with sooooo many holidays. Cool, huh? Besides, I love polka dots!!!

So, that's the news. I've made a few other things, but you'll have to wait for those. In the meantime, I'll post the Monster Cookie recipe. I know many of you wanted it. Enjoy!

Monster Cookies


Tuesday, March 13, 2012

Hurray.......

There is something that I forgot to show you........so I thought while I was at it, I'd sorta fill in the blanks on how to make it.  I did post the directions for something similar a year or two ago, but everyone needs a re-fresher every once and awhile.  Do you remember my crayon quilts?  YOU will love this!!!  Soooooo fun and easy and they turn out almost like a watercolor picture.  This one I did as a mug rug.  I think it was about 8 inches square.  (I'd measure it, but I already gave it to a friend to hang in her house as a spring decor.)
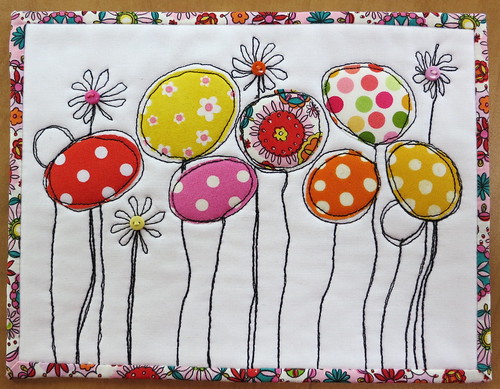
Spring Flower

First of all, I want you to get a solid piece of paper and draw a flower.  Try to make the petals go off the outside of your square.  (Or you could make the square bigger to start and trim it later, it really doesn't matter.)  Now, cut yourself a hunk of solid white fabric a bit bigger than the drawn flower and with a pencil, lightly trace the drawn flower onto your white fabric.  (Hint:  If you cannot see the image, darken your drawn flower with a sharpie marker, but wait until it's dry before tracing.)  After that is done, iron a piece of freezer paper (shiny side down) to the back of your white fabric.  This stiffens it enough so that you can color it without the fabric shifting.)  Get out your Crayola crayons and color to your hearts content!!  Note that I had plenty of white fabric on the side of the image to test colors, so you might want to consider cutting a bigger white piece of fabric than you would need.


When it is done to your liking, remove the freezer paper from the back, lay a piece of cheap muslin on the top of your flower and iron it until you smell the wax.  DO NOT BURN!!!  This seals the colors and protects your iron at the same time!!

Next, fuse the back of the flower with a piece of fusible fleece, or thin batting and pin to temporarily adhere.  Stitch around the flowers with white thread and remove pins.  Do any fancy stitching now like the french knots in the middle for effect.


Now for the tricky part.  Use a kids scissors with blunt ends and cut as close to the batting as possible.  Discard your cut pieces.  This procedure will make your flowers POP as they will now have two layers of batting.  Now, sandwich as you would for any other quilt.
Use a size 16 needle and #12 black thread and free motion quilt around each flower, burying the threads as necessary and quilt as desired for the remainder with desired thread.  Trim and bind as normal and do any additonal french knots at this time and wa-la!  You should have a darling flower mug rug!

Spring Flower

Tuesday, November 30, 2010

4 Calling Birds

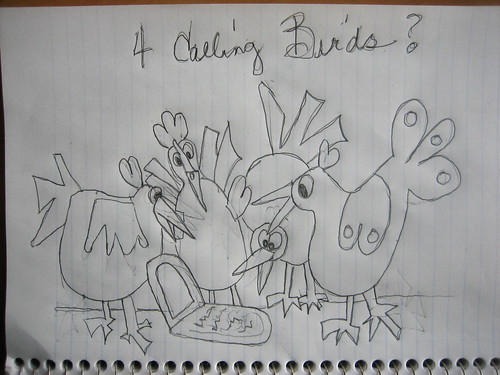
To continue the 12 days of Christmas (not in any specific order, mind you), I am going to present the 4 Calling Birds. (I actually should have made 2 Turtle Doves, I know....but I am having a heck of a time drawing turtles....sorry! I'll keep working on it....promise!!)

If you've been visiting my flickr stream you might have noticed that his mini started off like this:

4 Calling Birds - A rough sketch

That was quickly scribbled on a 6x9 sheet of my spiral notebook that I use for grocery lists....(now you know what's more important! LOL) I could hardly make something out of that though, so after being posted on my refrigerator for a few days, I transferred the idea onto something workable:

At this point I really considered doing applique, but after a while decided that the whole 12 days should be the same and since I did "peacock" and "three hens" in crayon, I should continue with that medium. Besides, that goes lots faster for me now. With applique, it seems I have to audition tons of fabrics to get them just right. With crayons, it's just a matter of testing colors on a separate piece of fabric.

As I've explained before, I transferred the image to fabric (cut a bit bigger than my pattern), backed it with freezer paper for stability and colored away:

If you try this process yourself, please don't get discouraged at the image right after you're done coloring. It really doesn't look like much at this stage, but it does get better after it continues, so be patient.

Here, you can see it after quilting, where I was doing the eyes. Nothing like a good poke in the eye, I say! LOL Note that the normal colonial knots were not on yet. (Yes, folks.....no french knots for this girl, although I might refer to them as french knots on occasion. Colonial knots are soooo much easier!!! And they never unknot!)

So here is the finished quilt. It ended up at 15 x 10 inches. I'm thinking a whole quilt made from these images would really be cute. Now, if I would only have time to finish the other 9 days!!

4 Calling Birds

4 Calling Birds

Just wait until you see "5 Golden Rings".......it will be a real hoot! I'm cracking myself up thinking of all these, believe me! I hope you chuckle as much as I do........until next time.....thanks for visiting!!!!

Thursday, July 26, 2012

Close, but no cigar (yet)!

Do you remember my last post where I was having trouble with my new iPad?  Well, I'm sorry to say that I'm no further now than I was then, but look what I ordered and what came in today's mail:


I'm thinking that between that goofy book and the Geek Squad from Best Buy (who will be here between noon and 4 pm tomorrow), I will be up and running in no time!  (I hope!!)  In truth, I actually bought the  "senior" book because I thought that older people are probably not as technology savvy as someone younger and the book might speak their language.  ('Course I do...........JUST........fit in the senior category myself, but don't tell anyone!)  And, talking about lack of any kind of technology knowledge....HELLO....you're looking at her!!  I sure hope I can be civil tomorrow........and the "geek" has patience!  Lord help us!!  lol  I will let you know...........

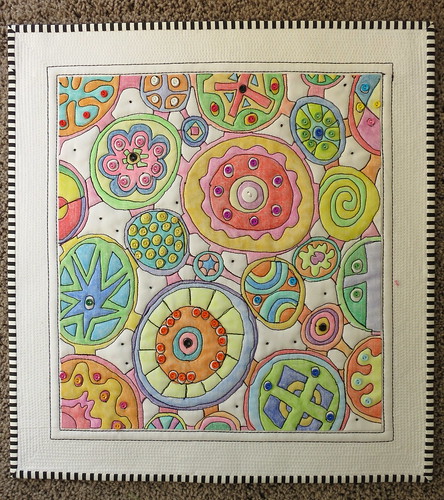
In the meantime, I want to show you another crayon quilt.  I really like this one and have decided that I will use the drawing again, but do it in applique.  Perhaps in solids.  That should be interesting, I think.  I wanted to do connection circles and this is what I came up with:


When I posted the finished quilt on Flickr, someone said it was maybe my brain connections.  I like to think so.....all colorful and fun!!  How cool would that be, huh?

Here it is all colored, but not stitched yet.  This one looked pretty good, even at that stage.


I love it done though.  It ended up at 16 1/2 by 17 1/2 inches with a border quilted with 1/8 inch lines.  That took forever, but I think it really makes it special.

"Connections"

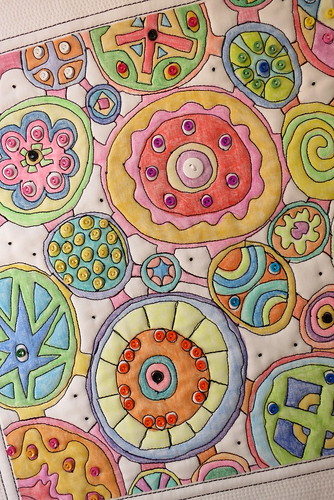
"Connections" - detail

I named it, "Connections"!  It seems to fit!  lol

Tuesday, November 2, 2010

I'm in a holiday mood, I guess.

I don't even have my Christmas fabric upstairs yet, but still I have been thinking, dreaming, and making Christmas stuff. First, on Sunday (after I finished my 12th batch of cookies for the freezer), I made this cute little guy.

Mug Rug for a Dear Friend

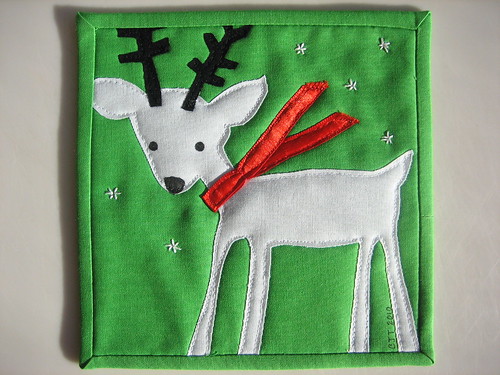
I found him in the Target flyer and knew he had to be transformed into fabric for my two "dear" friends who I was meeting with on Monday. The red collar is really red ribbon, so it is shiny and looks really neat next to the solids.

Then, today I made this:

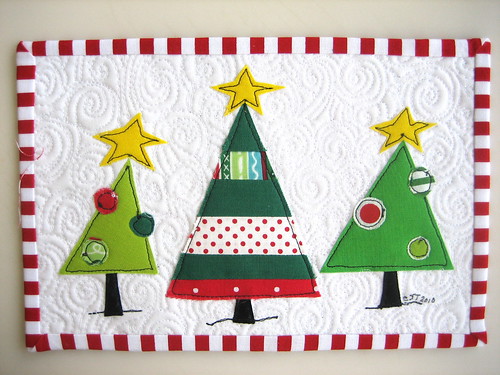
Holiday Mug Rug

This might be for the latest mug rug swap. I joined it again and have a partner who really doesn't care what kind of mug rug I make for her. (Doesn't give me a lot to go on, but then again, it's kind of neat for my weird creativity too.) I have three weeks before I have to send one out, so who knows what else I'll think of by then. Right now I have a few doll size quilts that need to "come out" of my head so I might just do them first. I'm also dying to make another crayon quilt. Those are sooooo much fun! Stay tuned........who knows what'll I'll show you next. (Maybe even all those cookies in the freezer. LOL)

Thursday, January 17, 2013

2012 Recap

I've been so busy finishing up my recent ladies that I forgot that you were here waiting to see what I all made during last year.  While some bloggers make up a mosaic, I have much too much to even attempt that!  I will show you some of my favorites though after I list my achievements:

1 set of potholders
17 mini abstracts
21 mug rugs
6 crayon quilts
19 bitty block sets (3.5" blocks-12 in a set) plus 3 sets of polaroids
36 pincushions which included 20 Christmas mice
9 lady quilts
4 placemats
25 doll sized quilts
1 lap size quilt
4 baby quilts

And some of my favorites.......remember that you can click on any of these pictures to see them bigger:

Circles #1

"Downtown" - completed

"Flowers in the Forest"

"Folk Art Flowers"

"Connections"

And a few mug rugs:

Have a Happy Day!

Copycat Mug Rug

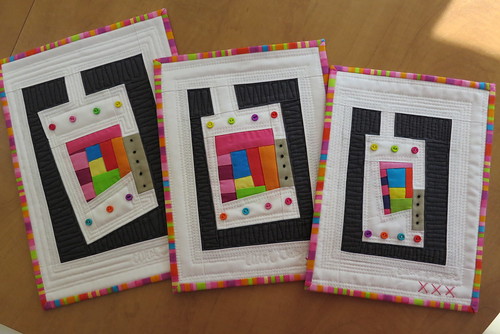
Triplets

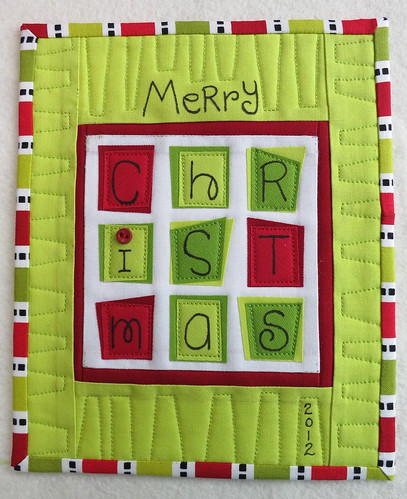
MeRry ChRistmas Mug Rug

Now some bigger doll size quilts:

Happy Birthday, Annie!!

"Lotsa Dots" - FLiQS2

"The Button Tree"

And bigger yet:

"Stitch N Dye" copy #2 in the sun

Twin quilts - unwashed

Whew!  I hope I didn't bore you.  There were more favorites than I thought!  Some of them I did so early last year that I almost forgot about them.  Which is your favorite?

Now I better get to work!  I'm completely out of stuff that I can show you until February......I guess I work too far ahead sometimes!  Tomorrow I need to work on my bitty block set....the theme for February is monsters and MINE is adorable!  Just wait until you see him!!!  Such fun I have here all by myself!  lol  Until later, my friends.........