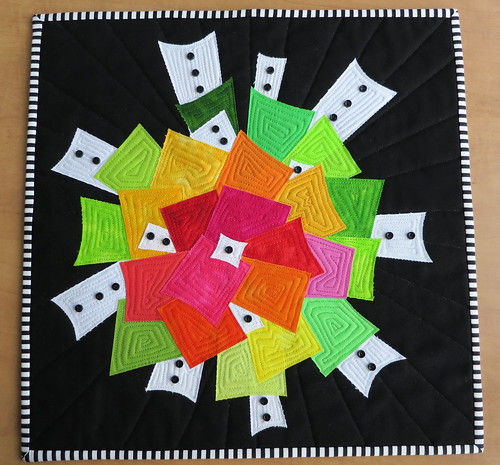
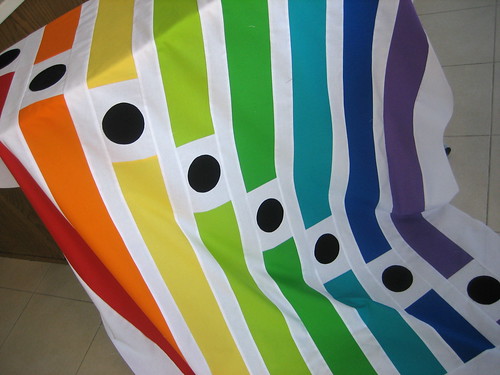
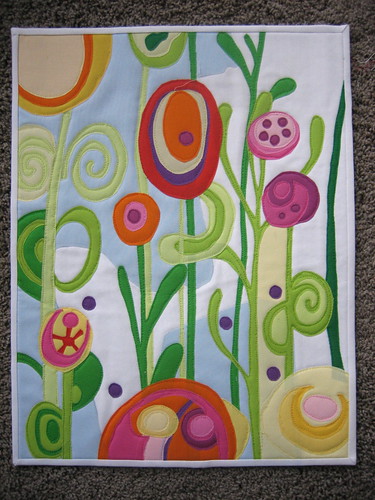
See that? That is a quilt that I made as a sample for my LQS's new Kona club that starts next Tuesday. (They don't even know it yet.....unless, of course someone from the shop is reading this.) My inspiration came from the paintings of Georgia Gray. She uses bold solids and I love them! I am going to show you how to make your own.
First, you do a drawing! Just like with most of my stuff, I make the drawing to scale, and when I like it, I bold it out with a Sharpie. (That's so I can see it when I put it under the base fabric.)
You will see that although it appears as though dark blue was my base fabric, it was not. I decided that white had to be the base so I could retain the cool, crisp whiteness of the circles. (Besides, I can see my pattern through white......you'll see that later.) Note that I numbered all the blue spaces and that was so that I could fuse a big hunk of blue and cut the pieces out all at one time, numbering them on the back so that I could place them all at one time. Cut your base white fabric at least 1/2 inch bigger all the way around just in case the quilt is not even when you get done.
See the numbers? I use Steam a Seam and that's so that I have a clean sheet to use as a pattern with one sheet still on the back of the blue fabric. I trace the front of the blue numbered spaces on that clean sheet, place it over the paper pattern, and cut the blue fused fabric from the "front" or top. NUMBER your pieces on the paper back as you go so you know what is what! (I get too confused turning it over and tracing them on the back. Besides, for me, this is much faster!) When you're done, you should have pile of blue pieces ready to fuse.
You'll note that as I was doing that, I put the pattern underneath so I could see what I was doing. You should only do a section at a time and then iron them down. (Sometimes the fusing doesn't stick like it should as a temporary agent and when you get up with your piece to take to your iron, they fall off and then you have a real mess!) DO NOT IRON THE PAPER PATTERN...only the fabric!
When you get all those dark blue pieces ironed down, it's time to start on the colored circles and I really can't tell you how to do that. It's a matter of color preference. I like red, so used the majority of reds and oranges. The trick is to ALWAYS repeat a color somewhere else. The eye flows better that way. (Unless it's in the same color family, and lighter. Sometimes you can get away then only using one of that color. I think I used a pale yellow for one of them.)
So here it is all fused and ready to be quilted. At this stage, I must admit, I let it sit for a few weeks. I really didn't know how I was going to quilt it until I looked at Georgia Gray's paintings again.
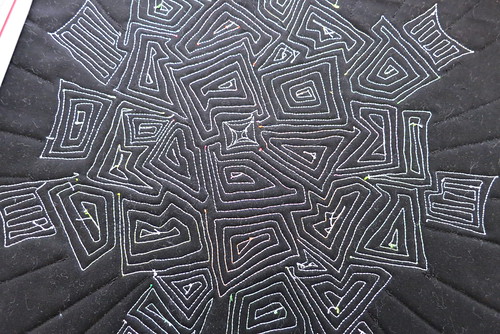
Of course, you already know what I did. I sewed down each circle with the appropriate color thread and then just used white to go round and round each white section. Here's a close up of the finished quilt.
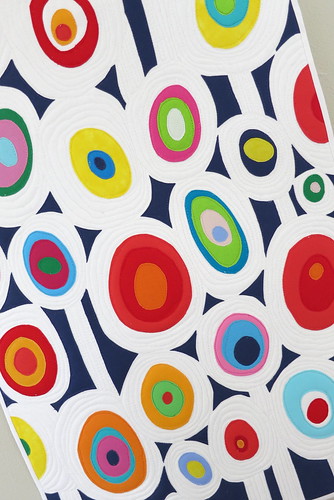
It's hard to see the white quilting, I know. I love it! It's already hanging in my dining room and I think it will have a permanent home there. At 19x28 inches, it seems to be the perfect size. Besides, it makes me smile and isn't that what it's all about????


